
Cabino develops a town with production, food, healing and training, then allocates units between those demands. Its army can attack several buildings at once. Its target priorities begin with hospitals and inns, ahead of swarms: your support buildings deserve protection even when the swarm itself looks safe.
Practice reading the whole colony against this opponent. Establish meals, scout its services, and check whether your defenders can return to food and healing. The illustrated exercise ends with a supplied home under local pressure; it does not require winning the match.
Set up a Standard practice match
Open Custom game, choose a two-colony map, and put You and AI → Cabino on separate teams. Inspect AI strategy, select Use Cabino, and choose Standard in Game Rules. Leave experiments off while learning its ordinary behavior.

The chooser calls Cabino Medium (1680). That is an offline opponent estimate, separate from online OpenSkill ratings and ranks. This lesson uses the Standard balanced for 2 practice map. Save the opening through Escape → Save so you can repeat your decisions.
Cabino’s production mix responds to what its controllers request and what units it already has. Expect workers, explorers and warriors to change in importance as its town develops. Copying a fixed birth ratio from its opening will not reproduce its entire policy.
Establish food before training an army
Locate wheat, wood and clear ground near the swarm. Place an inn with B → I, right-click to leave placement, and inspect the foundation. Confirm that wood arrives and the building completes. Then wait for actual Food stock and meals.
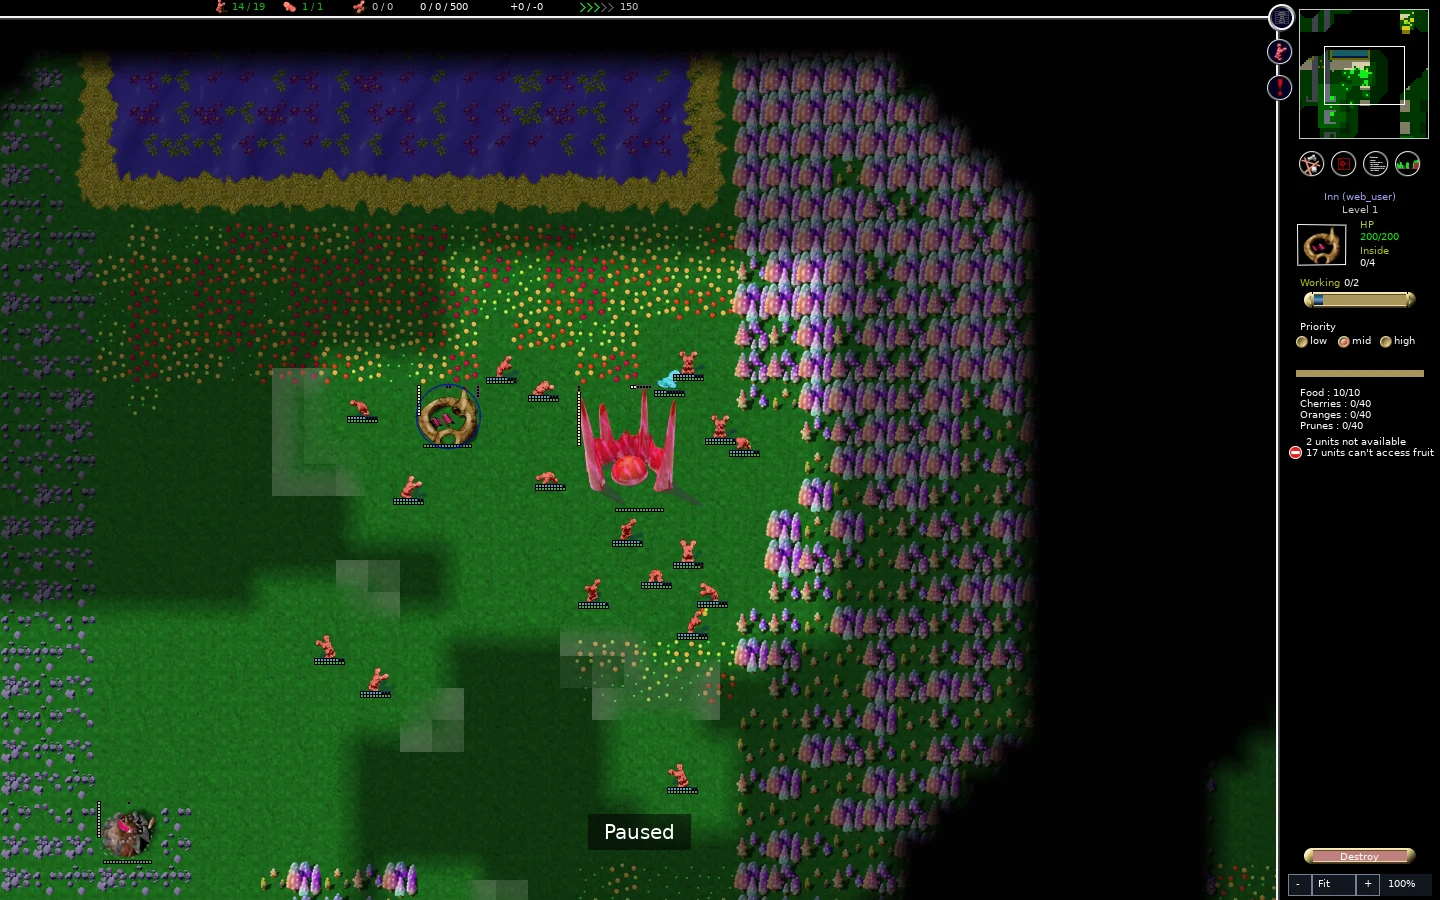
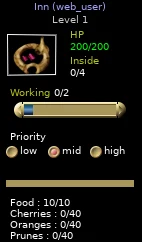
The first inn in this opening reached Food 10/10. Production had also grown the workforce to nineteen workers. The top unit counters show available units before the slash and total units after it; fewer available workers can mean existing assignments rather than deaths.
Add a barracks with B → B and a hospital with B → H when the economy can build and supply them. Construction, swarm deliveries and inn deliveries all compete for workers. Inspect the actual units and services rather than treating completed training buildings as a fully trained army.
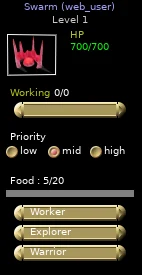
In this practice match, warrior production created thirteen warriors while the barracks and hospital completed. Pause with P to inspect the town, then resume when testing deliveries or assignments. A paused request needs running simulation time before globs can answer it.
Replace a lost scout and inspect the town again
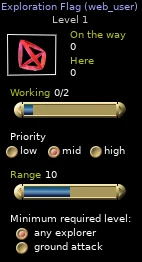
Place an exploration flag with F → E, cancel placement with a right-click, and select the flag. Set a modest Working request. Watch On the way and Here, then inspect what your explorers reveal.
A lone explorer in this match received attack warnings and was lost. Its earlier view had exposed a cyan swarm and two inns. That remembered view was already too small to describe Cabino’s later settlement.
Temporarily favor explorer births at your swarm and allow replacement scouts to appear. Keep meals supplied during production. In this exercise, three replacements were produced; a later inspection revealed a barracks, two hospitals, a racetrack and a tower in the cyan town.
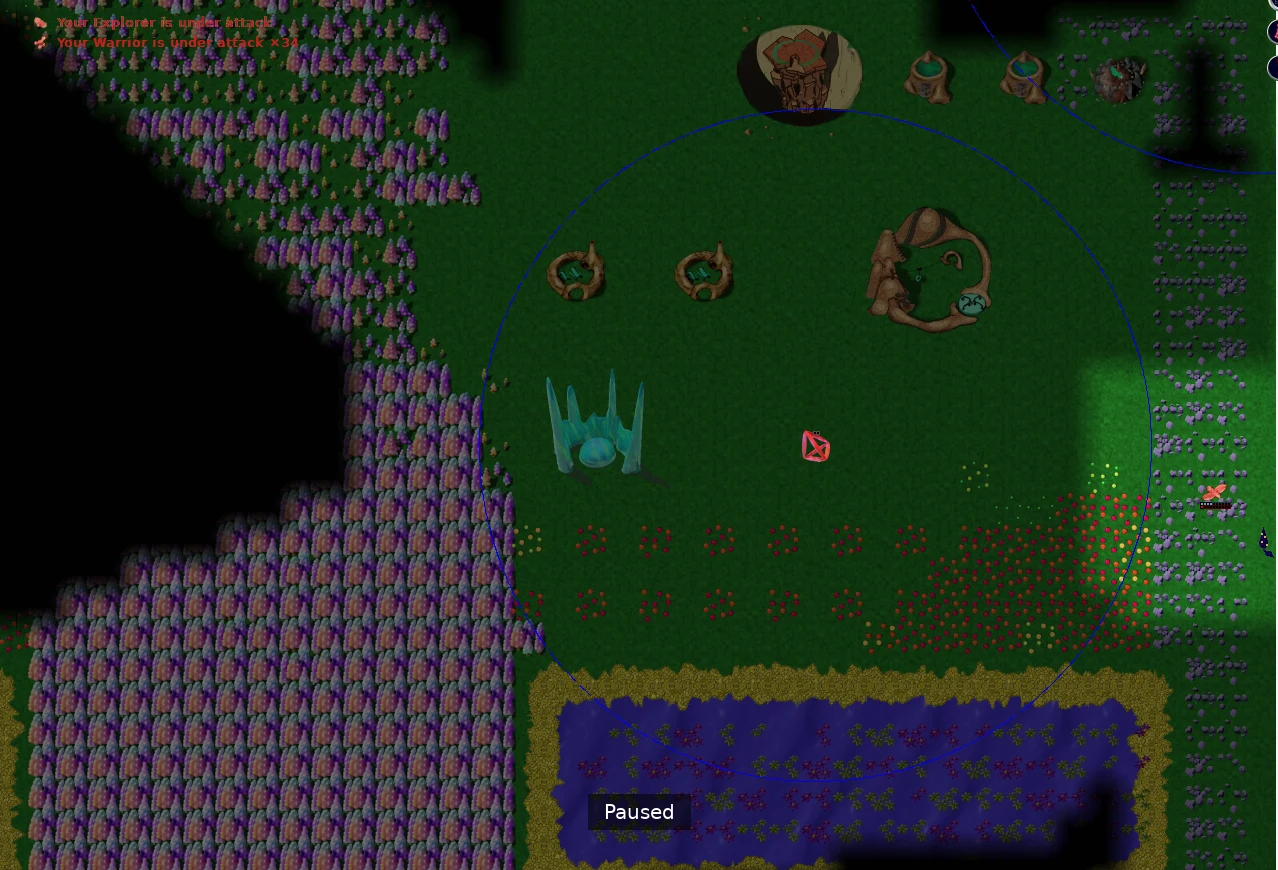
Use that information to reassess the operation. Healing, attack training and movement training support the colony around the visible swarm. A dim remembered building silhouette does not prove its current condition, staffing or occupants. Revisit the approach before committing an army.
Select your scouting flag to check the request itself. A flag left behind after its scouts die cannot provide current vision. Remove obsolete requests with D after selecting them, resume if paused, and confirm they disappear before placing the replacement request.
Cabino also sends explorers to fruit. If cyan explorers appear around your resources, check the current situation and their training. An explorer is not a warrior, but advanced explorer abilities can still threaten ground units. Avoid sending a lone scout repeatedly into the same hostile contact without changing the request or its support.
Release growth and support the defensive line
Return home with Home. Once the intended scouts and warriors exist, select the swarm and reduce the Worker, Explorer and Warrior birth weights to zero. Reduce its Working request as well when you want those carriers released. These are separate controls: reducing Working alone does not disable the birth recipes.
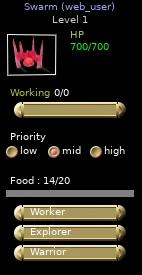
With nineteen workers and thirteen warriors in this colony, the next useful investment was a second reachable inn, rather than more births. Place it beside accessible wheat and retain a clear ground approach. Wait for construction and deliveries before depending on it.
Paint a compact guard area with A → G near the approach and the services you want to protect. Right-click out of painting. A guard area steers autonomous warriors; it does not select a squad or order each warrior to stand on one exact tile. Compare the actual response with defense and recovery.
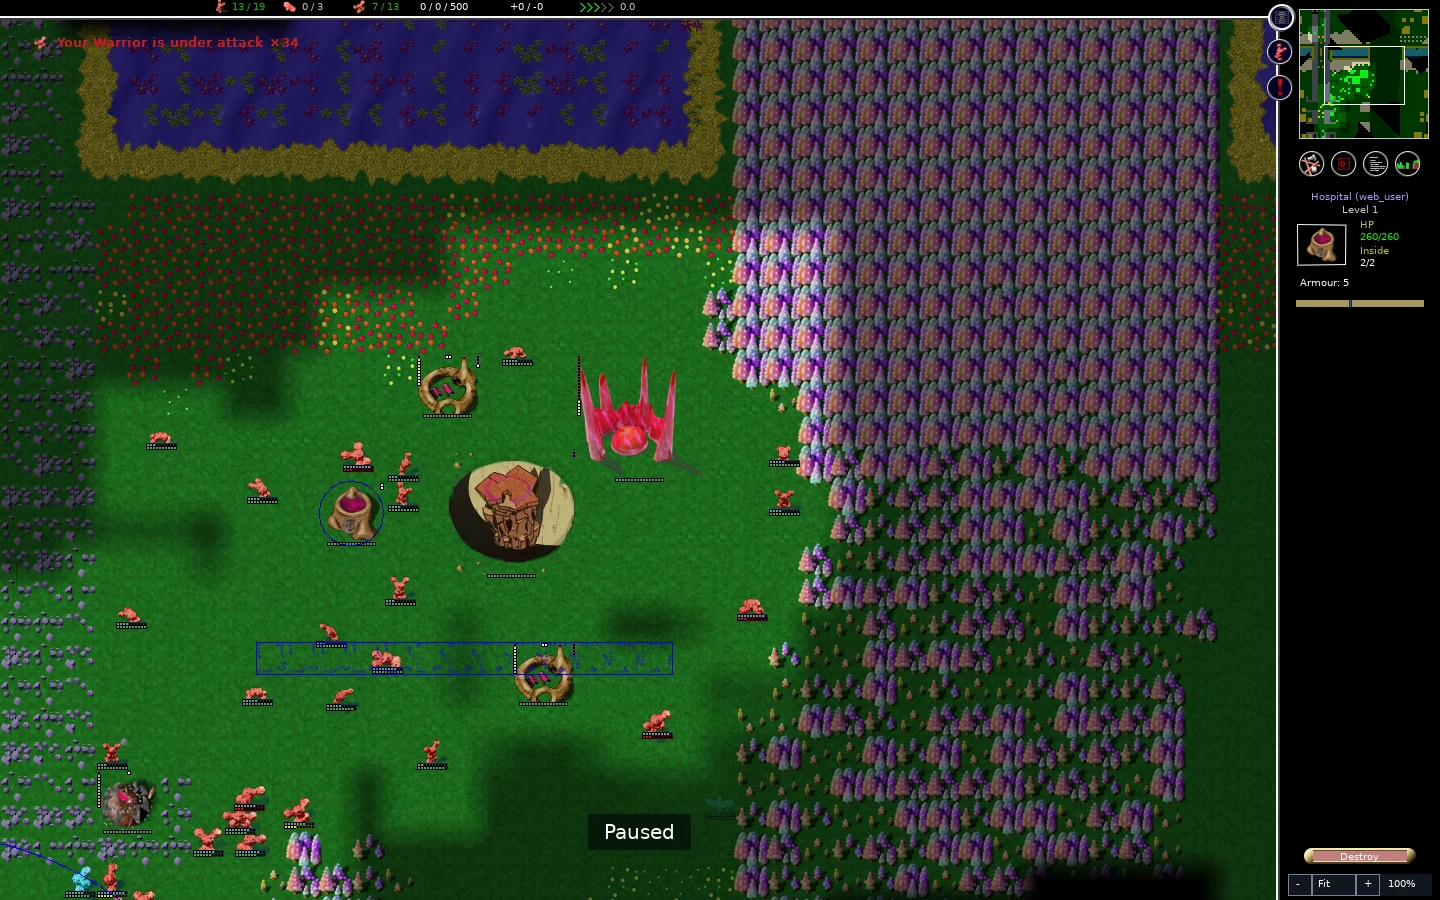
The second inn completed and reached Food 10/10, with globs using its meals. The hospital later showed Inside 2/2 while attack warnings were arriving. This was a useful local result: growth had stopped, another meal service was working, and healing remained available.
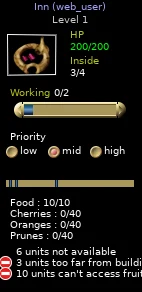
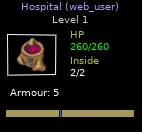
An occupied hospital is a healing checkpoint. It does not replace an inn or prove the colony can endure indefinitely. Continue watching food deliveries, damaged buildings and actual unit totals. If a service is empty or unreachable, fix that before sending survivors farther away.
Gameplay clip
The silent clip shows the supplied home during a short running interval, with the game speed set to 4x. Watch globs around the inn and hospital and the incoming attack warnings. After the interval, inspect the same services again instead of judging the defense from movement alone.
Respond to Cabino’s allocation of force
Cabino normally needs attack training and enough available qualified warriors before launching an attack. It can maintain several target flags, with requests adjusted as its available force changes. An approaching group can therefore be part of a wider operation. Check other exposed services rather than assuming every enemy is heading for the swarm.
Its ordinary defense controller responds to damage at its own ground buildings by requesting nearby warriors. When planning a raid, inspect the defenders that actually arrive and choose whether to continue. Target priority does not guarantee that an outer hospital will lure its whole army away.
For your own attack, choose one reachable objective, inspect unit training, and provide meals for the route and return. Use organizing an attack to set and later release the war flag. Compare the target’s current defenses and your surviving qualified force before moving deeper into the town.
Cabino also protects sparse resources near water and varies inn staffing in response to food shortages. Under Standard rules its resource protection uses forbidden areas. The optional farm-area experiment changes that behavior; use food and sustainable expansion before copying a pattern you do not understand.
Fruit adds another contest around services. Cabino may advertise its food to enemies while relations remain hostile. Better fruit offerings can attract a reachable hungry glob when food visibility permits it. Keep your own inn supplied and follow fruit and conversion before trying to recruit through meals.
Scroll to compare all columns ↔
| What you observe | What to inspect | Next useful decision |
|---|---|---|
| Your first scout disappears | Actual explorer total, attack warnings and remaining flag requests | Produce replacements and change the scouting request |
| A later visit reveals more training and healing | Current visibility, service layout and actual defenders | Reassess the target and approach |
| Many units exist but few are available | Existing assignments, training and service use | Release obsolete requests before demanding more units |
| Soldiers gather while an inn empties | Food deliveries, swarm demand and reachable wheat | Release growth and repair supply |
| Several services face enemy groups | The whole approach and each exposed support building | Concentrate a supplied defense and check each local result |
| A raid draws defenders | Their actual numbers and your surviving qualified force | Continue, withdraw or choose another objective deliberately |
Save the supplied checkpoint before the next operation. Repeat from the opening if you want to compare an earlier scout replacement or an earlier second inn. Change one decision, then compare visible services and unit totals after running the match.