
A defense has to protect the systems that let the colony continue: food deliveries, production, training, and recovery. A line of towers is not enough when their ammunition runs out or the defenders cannot reach a meal.
Decide what you are protecting
Before building defenses, inspect the routes between food, inn, swarm, and other services. Look for an approach an opponent can use to interrupt several of those routes at once. Scout beyond the base rather than waiting for attackers to appear beside the inn.
Keep these questions in view:
- Where will the first attack enter?
- Can defenders assemble there without blocking workers?
- Can wounded or hungry units reach services afterward?
- Is there another short approach across the map’s wrapping edge?
Do not wall every visible boundary simply because it looks like an edge. The map wraps, and walls do not stop flying units.
Produce defenders without losing the economy
Use the swarm’s Warrior production bar to add warriors to the future mix. Preserve enough Worker production to keep essential jobs staffed. An army that grows by abandoning food hauling creates its own emergency.
Provide reachable training: warriors can use movement services and barracks for combat development. Allow them time away from assigned duties to train. A barracks foundation is not trained soldiers, and an upgraded service is not an instantaneous upgrade to every warrior.
Check selected units when judging readiness. Numbers alone conceal differences in training, food, health, and position. Avoid committing new or injured warriors to the same task merely because they increase the total.
Give idle warriors useful ground
Paint a compact Guard area around the approach you intend to defend. The default sequence is A → G; check add mode and brush size, then paint a small region. Right-click when finished.
Guard areas give idle warriors defensive terrain. They do not replace explicit requests on a war flag, and they do not guarantee an even distribution across every patch you painted. An unnecessarily broad area can pull attention away from the narrow route that matters.
Watch where warriors actually move. If they remain committed to a distant flag, reduce that request before expecting them to patrol near home. If your painted area lies behind an obstacle, correct the route instead of enlarging the area.
Keep towers supplied
A defense tower needs construction first, then ammunition supply. Workers bring stone, and the tower turns its supply into shots. Select it and inspect the stone/ammunition readings and Working request.
A useful tower location combines:
- A clear view of the approach you want it to cover.
- Reachable stone for its workers.
- A route that does not force haulers through the enemy advance.
- Supporting defenders and nearby recovery services.
Watch its supply before, during, and after a fight. A completed tower with depleted ammunition cannot provide the same protection as a supplied one. Additional towers create additional hauling demand; do not order a ring of them while the colony already struggles to feed its workers.
Leave your own access open
Walls constrain ground movement. Use them to shape a route, leaving gaps your workers and defenders can actually use. Before extending a barrier, test the trips to food, stone, training, and the protected building’s exit.
Do not promise yourself a gate or a flyer-proof barrier that the map does not provide. A closed ring can trap your own services and units. When adding a wall near a busy inn or swarm, inspect the exit and leave room for upgrades as well.
What a late defense costs
In this practice raid, the enemy reaches the two inns before the defenders stop it. The selected inn still has Food 6/10 and Inside 2/4. Food stock has not failed yet; the danger is losing the buildings and the route that serves it.
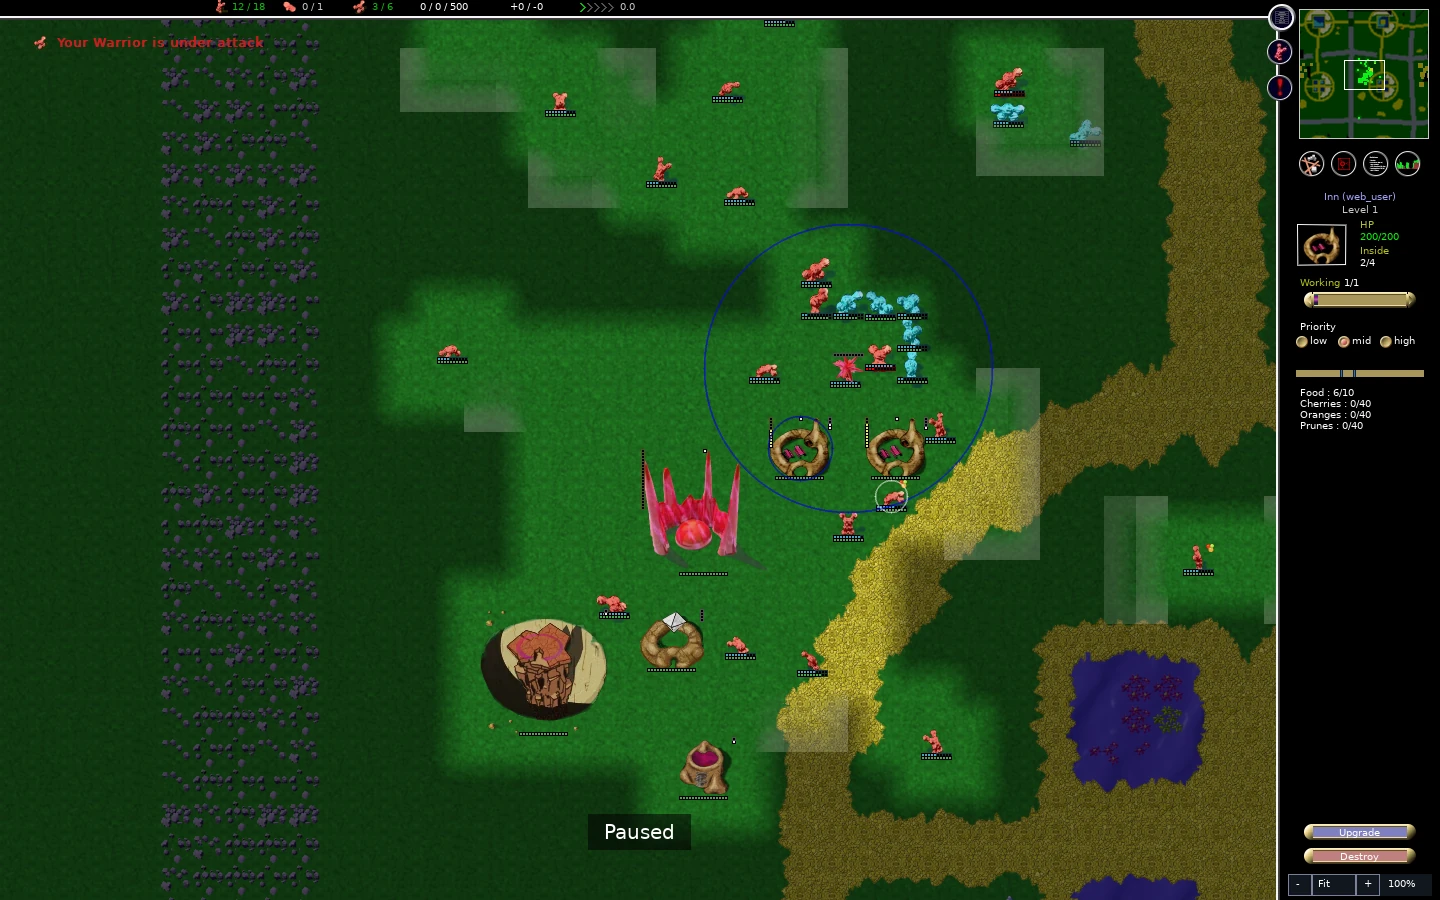
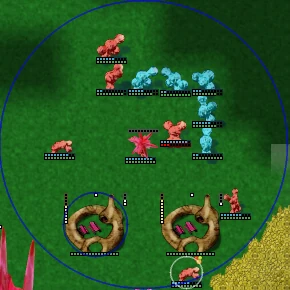
Pause a local practice raid and inspect three things before spending more workers:
- The attack’s location: which food or training service can it remove next?
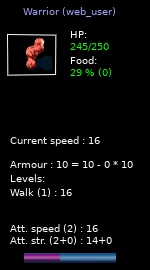
- A defender’s readiness: select a warrior and read health, food, and training. Here the selected warrior has 245/250 HP, but only 29% food.
- The route to recovery: can the defenders reach an inn and hospital without crossing the attackers?
After play resumes, the attackers destroy both inns and damage the swarm. The selected warrior’s health falls to 65/250. A force still being present is not the same as food service still being available.
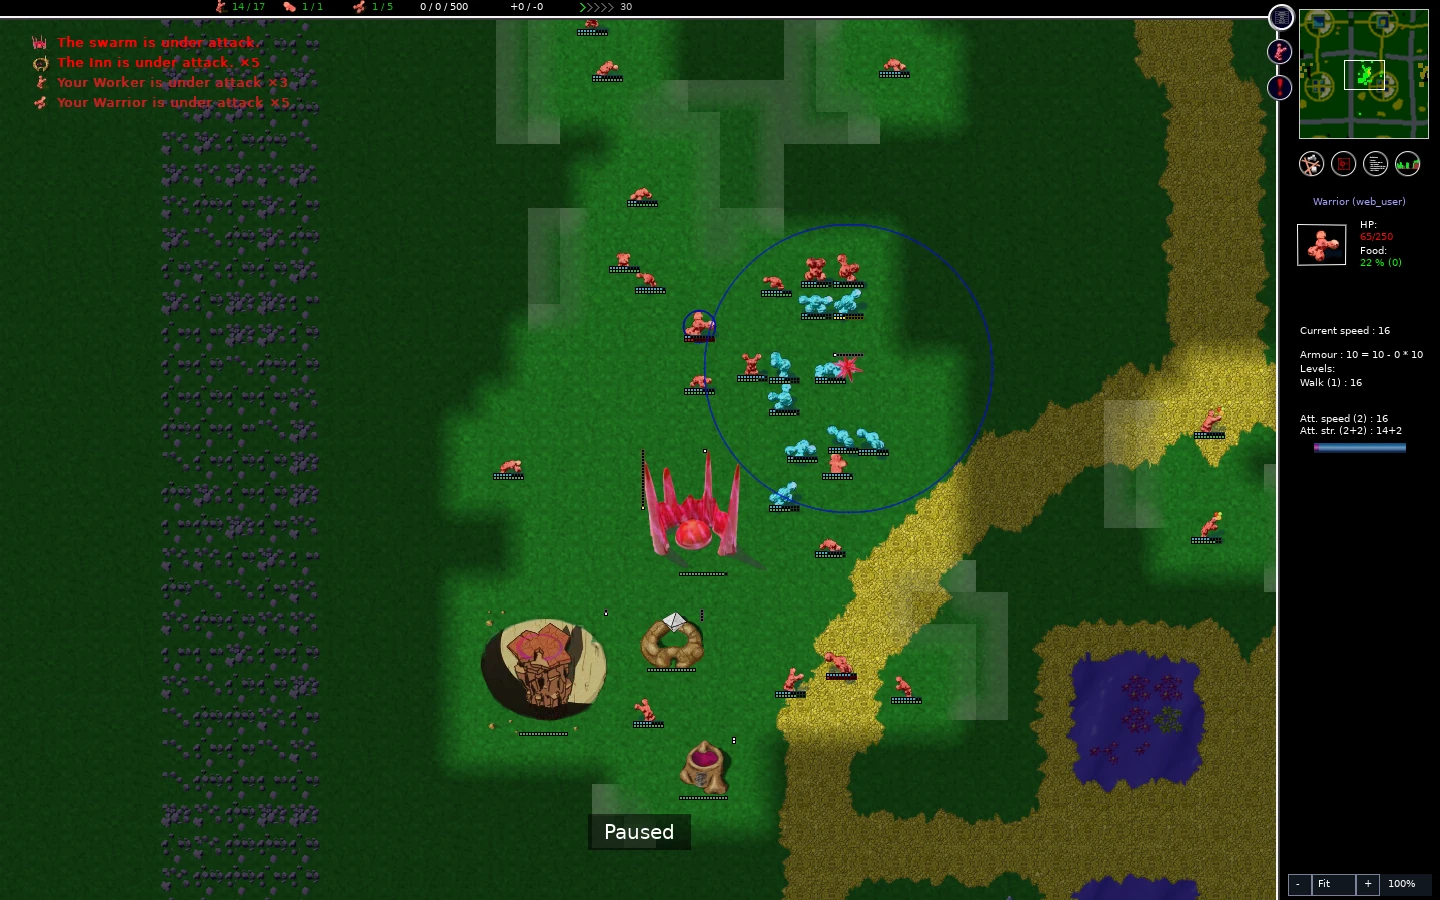
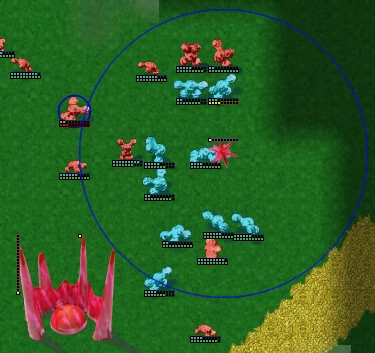
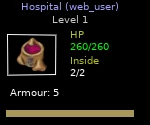
The hospital remains occupied by two globs. That can preserve wounded units, but it cannot feed them. Rebuilding food service now competes with defending the surviving structures. The easier decision was to prepare the approach, supply, and trained defenders before the raid arrived.
Respond to the first attack
When an attack appears, inspect the affected area before adding a new distant job. Keep food hauling active and draw available defenders toward a reachable position. Reassess a war flag that is pulling the army away from home.
Then watch the actual fight:
- Are defenders arriving together or separately?
- Are towers firing and being resupplied?
- Can damaged units reach healing?
- Is another enemy group reaching the food route behind the fight?
After the attackers leave, release unnecessary combat requests and let units recover and train. Repair damaged structures where useful, then reassess the defensive layout. A successful fight can still leave a colony vulnerable if it consumed the army’s food and health.
Learn from one defended route
Use a local practice save to inspect one approach repeatedly. First observe where an attack arrives; then change one defense decision, such as guard placement or tower supply, and compare the result. Keep the opponent, map, and rules consistent enough that the difference means something.
If the colony survives the fight but loses its food supply, start with food recovery before building a larger army. Once you can defend a supplied force, learn to organize an attack.