
Warrush produces a military mixture and directs warriors toward discovered enemy buildings. Prepare a colony that can keep defenders fed through repeated contact. Its name does not give you a safe number of minutes before attack, and a successful hold does not end the duel.
This exercise follows a Standard practice match on balancedfor2, red against cyan. The opening had seven workers and one explorer. The objective is to recognize contact, keep a working inn, release unnecessary growth and defend a compact approach while services continue operating.
Choose Standard and establish supply
In Custom game, select the map, put You and AI → Warrush on separate teams, and choose Standard in Game Rules with experiments off. The chooser’s Easy (1401) is an offline difficulty estimate, separate from online OpenSkill ratings and ranks. Save the opening through Escape → Save.

Find reachable wheat and wood, build an inn with B → I, and right-click to leave placement. Wait for actual completion and deliveries. Inspect Food, Inside and Working together: a full store can coexist with no attached haulers.
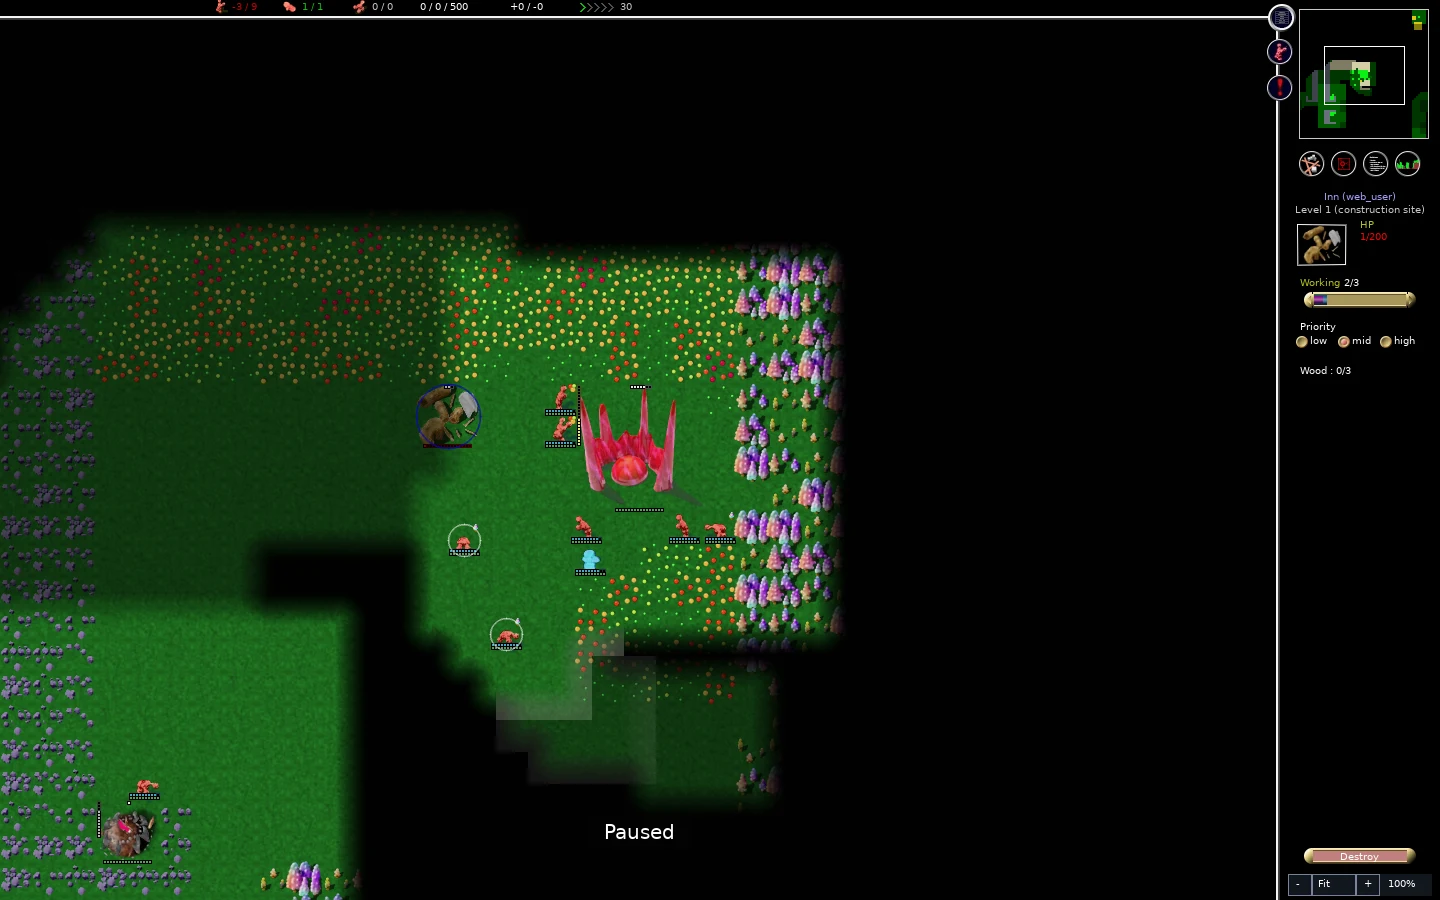
Warrush builds food, production and training as its economy permits. Its choices depend on staffing, supplies, available facilities and the rules; do not expect one fixed building sequence. Keep scouting useful approaches without assuming your flying scout’s route is also open to ground defenders.
Prepare defenders and their services
Select the swarm and adjust births toward warriors while maintaining enough workers for food and construction. Changing a production weight changes future births; it does not turn workers into warriors. Watch the actual totals and food stock while the new units arrive.
Add a barracks with B → B and a hospital with B → H when you can complete them. Inspect Inside to confirm units are using the service. Training and healing take time, and warriors may leave their position for meals or services. A nearby defense tower can support the approach, but it also needs ammunition and usable supply routes.
In this match the barracks and hospital completed and each held two occupants when the pressure checkpoint was resumed. The colony had twenty-one workers and twenty-one warriors, while the inn was full but had Working 0/2. That combination called for checking labor commitments before funding still more births.
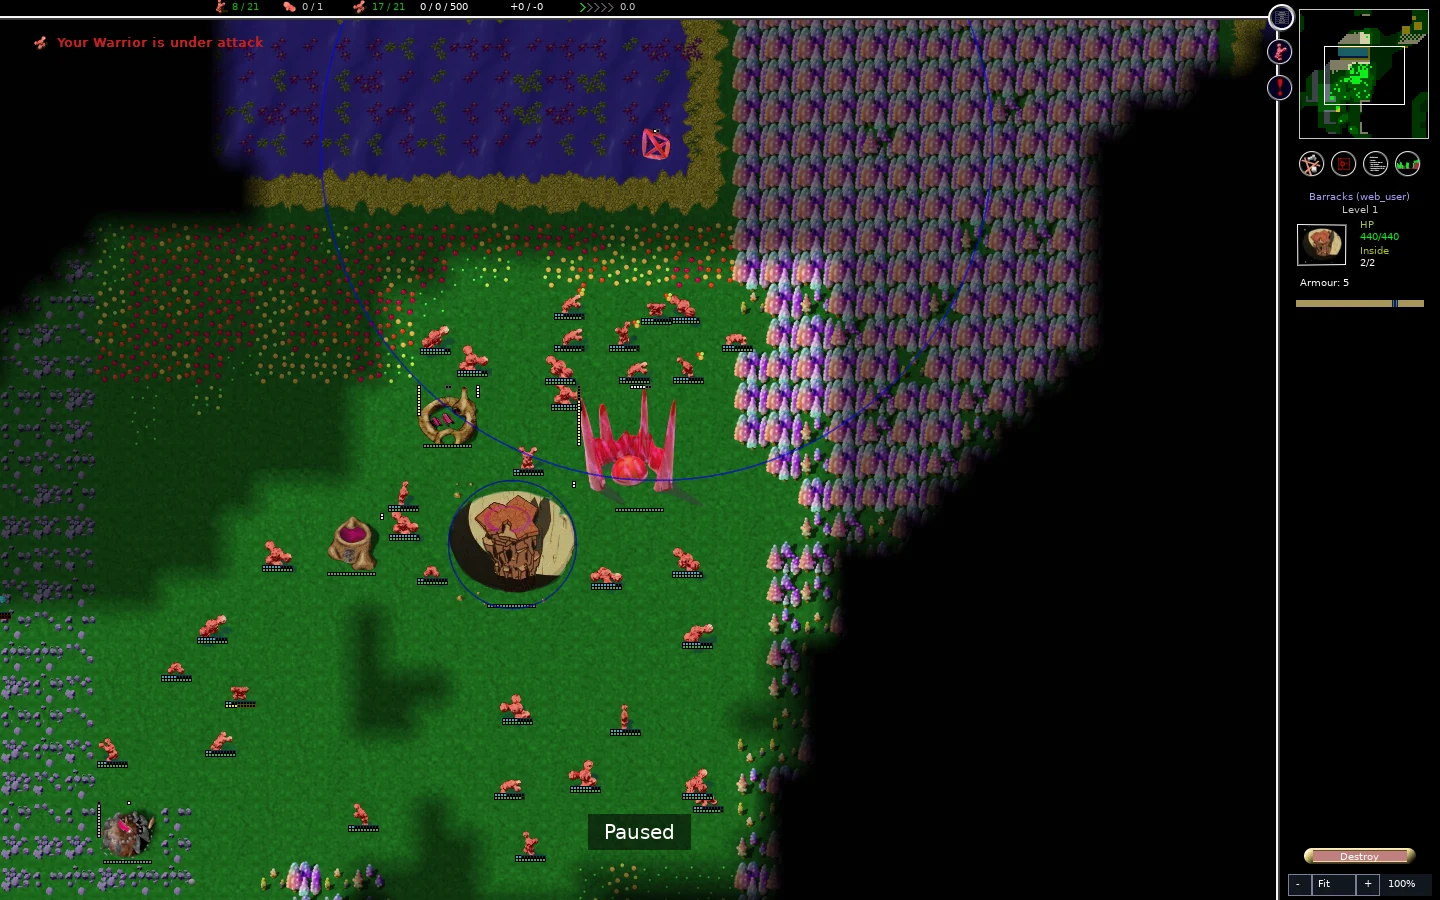
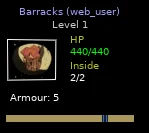
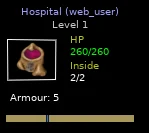
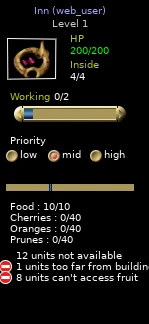
These are observed checkpoint counts, not a required army size. Pause with P to read the panels, then resume to see whether the requests actually work.
Read actual contact
An attack alert tells you something has happened; inspect the location and current state before deciding what it requires. Look for enemy globs, injured defenders, building HP and the approach to the inn. Cyan warriors reached this colony’s southern approach. Defenders gathered near the tower while the inn, barracks and hospital remained farther inside the home area.
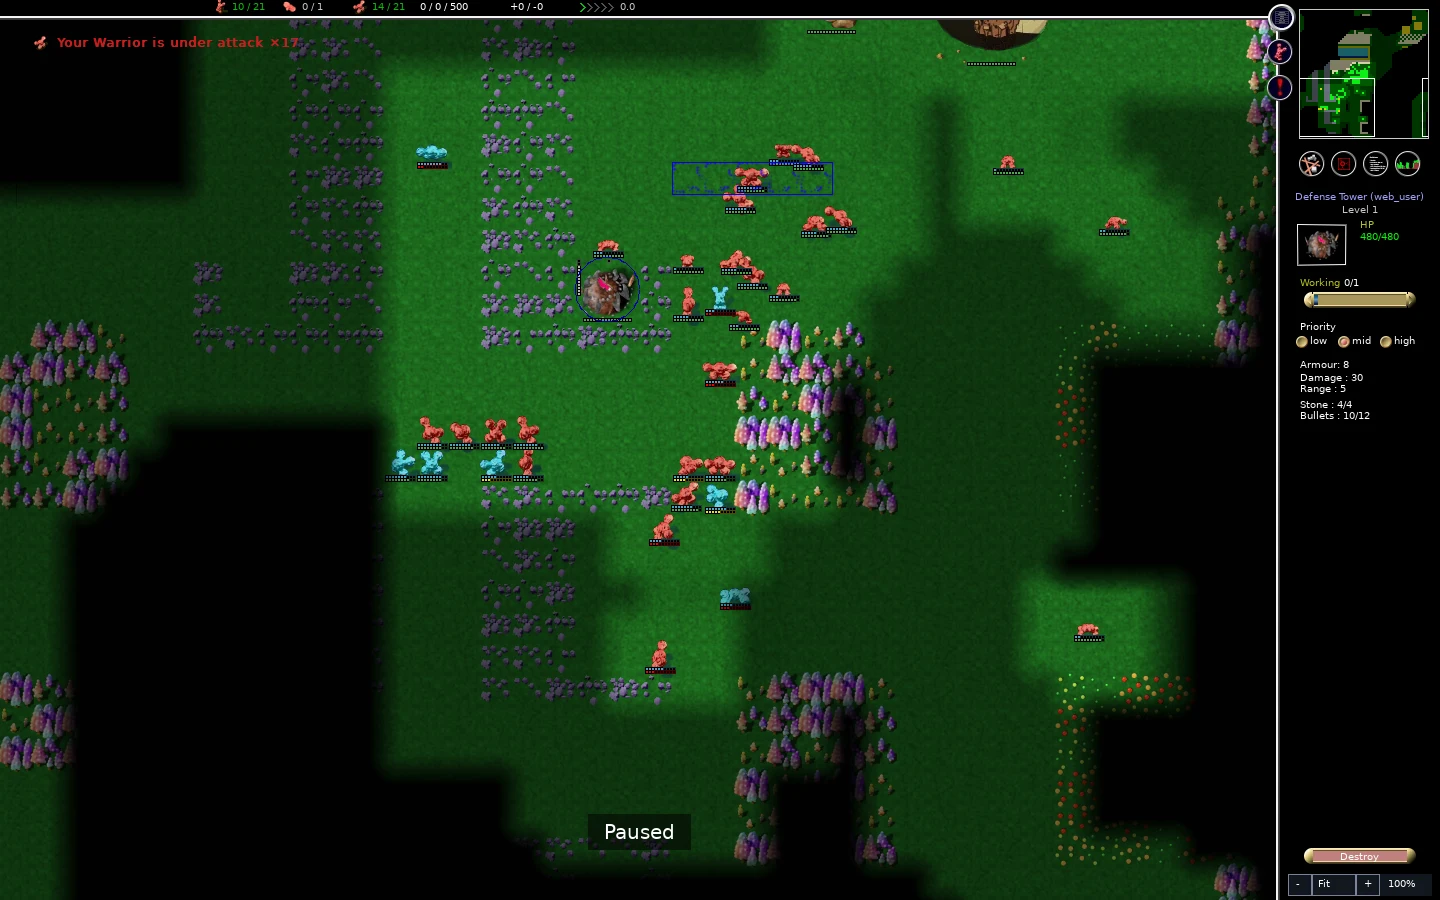
Warrush’s offensive steering uses guard areas around discovered enemy building footprints. It does not need a visible war flag to keep applying pressure. Meals, healing, available paths and combat still affect which warriors arrive. Treat an apparently quiet moment as time to inspect supply and damage, rather than proof that another wave cannot come.
Release growth and guard a compact approach
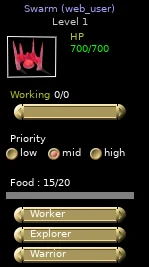
When enough defenders already exist, select the swarm and set all three birth weights—Worker, Explorer and Warrior—to zero, then reduce its request to Working 0/0. Check both changes in the panel: lowering the Working request alone can leave births consuming stored food. This example stopped further births and released labor from production.
Paint a small Guard area at the approach you intend to hold using A → G, then right-click when finished. Keep it close enough for meals and services. Idle warriors can use guard attraction; a broad painted region does not guarantee an even distribution or override an explicit war-flag request.
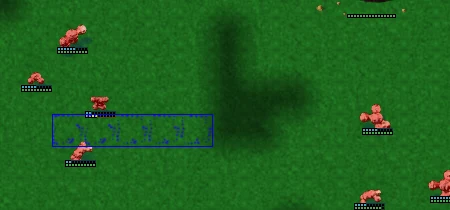
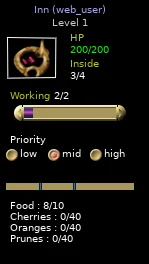
Resume and inspect the result. After releasing production and painting the southern guard strip, this inn had Working 2/2, Food 8/10, and three occupants. The tower still showed HP 480/480, Stone 4/4 and Bullets 10/12 while cyan contact was visible nearby. This was a supplied hold over the observed interval, with continuing combat.
Gameplay clip
The silent clip shows defenders and cyan attackers moving at the approach. The useful check is whether defenders can return to meals and services while pressure continues. Reinspect HP, ammunition, attached haulers and stocks afterward; a single full panel cannot prove an indefinite defense.
Decide what comes after the hold
Save a functioning checkpoint before your next commitment. If the inn stops receiving food, release competing requests, check reachable resources and let deliveries recover. If survivors are injured, keep the hospital usable and avoid immediately sending them away again. If the tower loses ammunition, inspect its stone route and Working request.
For a counterattack, scout the current target and follow organizing an attack. Keep a return route to meals. This exercise demonstrates a local hold; it does not demonstrate an attack victory or a universal response that defeats Warrush on every map.
Scroll to compare all columns ↔
| What you observe | What to check | Useful adjustment |
|---|---|---|
| The inn is stocked but has no attached workers | Simultaneous production, building requests and worker availability | Release unnecessary production, then verify actual attachment |
| Warriors gather far from meals | Guard areas, war flags and reachable services | Concentrate the useful request near a supplied approach |
| Injured defenders keep circulating | Hospital completion, admission and nearby meals | Give survivors time to use services before another operation |
| A tower stops supporting the fight | Bullets, stone stock and deliveries | Restore its reachable supply while defenders hold |
| Contact continues after one attacker disappears | Newly arriving units and remaining enemy buildings | Keep observing the approach and preserve supply |
Return to recovering your colony if services fail. Judge success by the colony’s continuing ability to feed, train, heal and defend, then pursue the configured victory conditions when you are ready.