
Choose an attack you can sustain. A war flag requests warriors around a destination; the force still has to reach it, fight, eat, and recover. Start with one useful objective, then end the order when its purpose is complete.
Practice the complete loop
Use a local Custom game with two colonies on Standard rules. Set your opponent to the public Econo profile for this exercise. It does not produce warriors, but its hostile explorers and towers can still threaten your units. Keep your own starting save and another save before commitment.
The illustrated match uses a 128 × 128 Fingerprint map. Its red colony grows to eleven workers and seven warriors, with two inns, a school, barracks, and hospital. Those numbers describe this practice force; use readiness and supply to choose a force for your own map.
Your goal is to gather eligible warriors, reach an exposed enemy food service, observe the result, and return the force to home services. Destroying one structure is enough to learn the loop; you do not need to finish the whole match.
Build a force you can feed
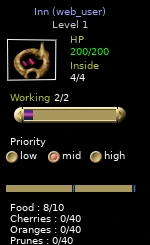
- Keep meals working. Select your inn and inspect Food, Inside, and Working. Maintain wheat deliveries while producing the army. Add another reachable inn if one cannot serve the growing colony.
- Provide combat training. Build barracks with B → B. Allow warriors time away from other requests to train there. A hospital (B → H) provides healing; it does not replace an inn.
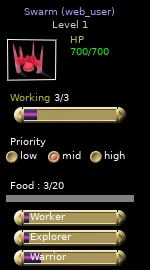
- Produce warriors. Select the swarm and increase the Warrior production weight. Keep enough workers for food and construction. These weights choose future births, rather than ordering existing globs to change role.
- Release growth when ready. Once the practice force exists, reduce the swarm’s Working request if you want to stop feeding production. Free those workers for food delivery and other useful work.
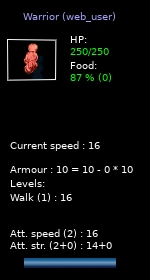
- Inspect actual units. Select a warrior and read health, food, and combat training. Building barracks alone is not evidence that every warrior has trained.
In this colony, a selected warrior has 250/250 HP, 87% food, and displayed attack training at level 2. That is a better readiness check than counting seven warriors and assuming all are equally prepared.
The nearby inn has Food 8/10, four occupants, and two attached workers. The army is being gathered beside functioning services, so units can eat before leaving.
Movement matters too. Warriors without swimming training need a ground route. A racetrack can improve walking, and a swimming pool can teach swimming, but users need time to attend those services. Scout a route the current force can actually use.
Gather before committing
Open flags with F → W, then place a war flag at a safe gathering point near your services.
- Right-click to stop placement, then select the flag.
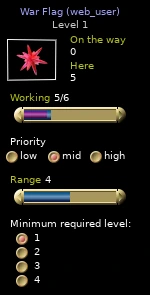
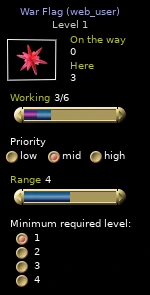
- Set a Working request that your army can support. Inspect the actual request rather than assuming every new flag starts with the same value.
- Check the minimum-level filter. Start with a filter your existing warriors satisfy.
- Choose a small enough radius to keep this gathering point useful.
- Resume and compare On the way, Here, and Working.
In the example, the flag requests six warriors. Five are already here; the sixth request is still unfilled. Meals, healing, training, and other assignments can delay a glob. Working 5/6 does not mean six warriors have assembled.
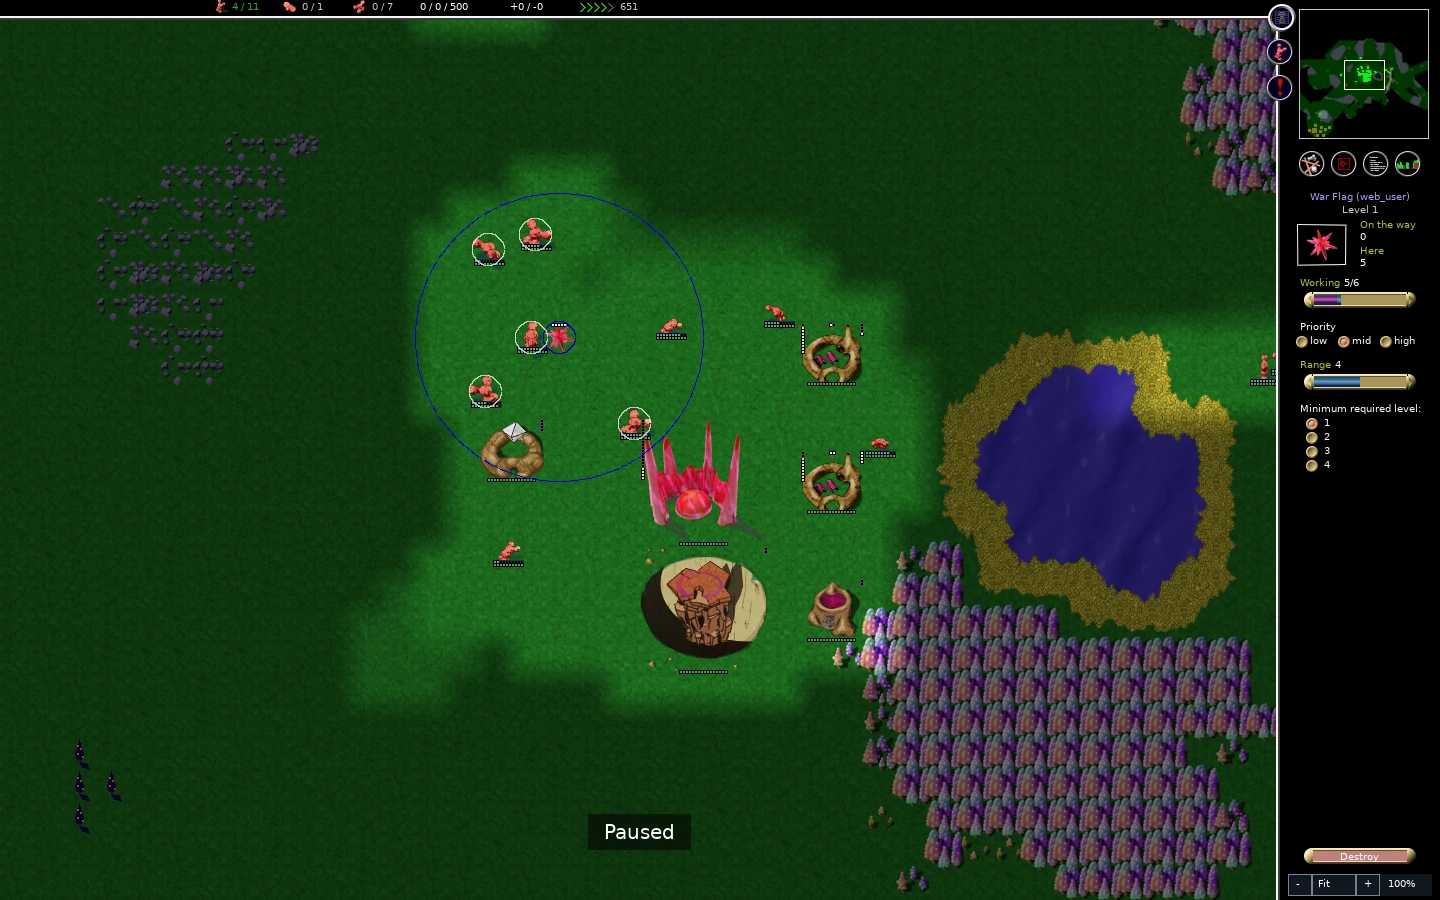
Leave some labor and defenses at home. An army assembled during collapsing food delivery can spend the march returning for meals instead of fighting.
Select a reachable objective
Scout the target area and name the intended change: remove an exposed inn, stop a dangerous tower, interrupt production, or clear a foothold near your base. Inspect the approach and opposing services before moving the order.
Here, an Econo inn is exposed beside its swarm. Selecting the inn confirms 200/200 HP before contact. The approach is ground the warriors can use; reaching it with a flying scout alone would not establish that.
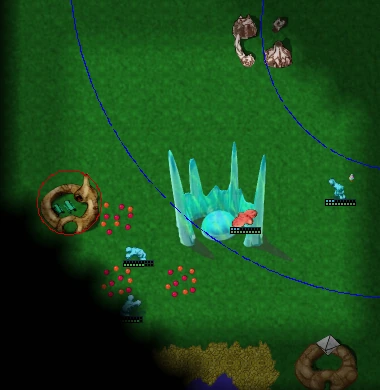
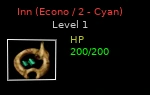
Previously seen buildings can become outdated information. Keep enough current vision to check the real target, rather than planning only around remembered silhouettes.
Send the force and watch the result
Move the gathering flag toward the objective. You can drag a visible flag. For a distant destination, another option is to remove the gathering flag, move the camera with the minimap, and place a new war flag near the objective. If you request destruction with D while paused, resume briefly and confirm the old flag disappears before committing the new request. Remove obsolete requests so they do not hold your intended attackers elsewhere.
Select the target flag, check its Working request again, and let the force travel. In this example the request reaches 6/6, with warriors still on the way. A full attachment count is not the same as arrival.
T toggles straight lines to unit targets. They help show which order a glob follows; they do not trace the walkable route through terrain. The clip uses those lines while the warriors close on the target.
Gameplay clip
The warriors destroy the exposed inn and the adjacent swarm. A war flag organizes an area of activity, rather than giving a direct command to attack only one selected structure. Watch what the force actually engages, and reassess when the useful objective is gone.
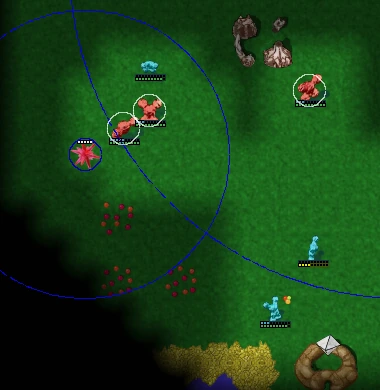
If units arrive one at a time into strong resistance, pull the destination back toward a safer gathering area. Recheck food, health, training, and the route before increasing the request. Towers, opposing upgrades, fruit bonuses, terrain, and support change a fight; this result does not establish a universal army size.
Bring the force back to services
After success, remove or reduce the attack request. In the example, the attack flag is removed and a home gathering flag draws survivors back beside the two inns. At the first checkpoint, three are here against a request of six. The colony still has seven warriors, but that counter does not establish that every warrior is home.
The home request is then removed to release the returning group for services. Recheck distant survivors rather than assuming they immediately stop every fight.
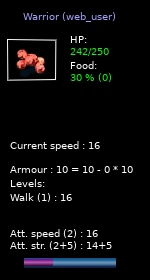
Do not assume a successful force is ready to fight again. A returning warrior here has 242/250 HP and only 30% food. It needs service time even though all seven warriors remain in the colony.
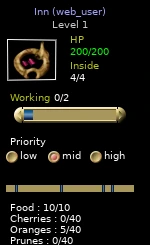
The home inn continues serving meals: its stock reaches 10/10, with four occupants. Working 0/2 at this moment is consistent with a full store; it does not itself show a delivery failure. Keep workers available as stock is used.
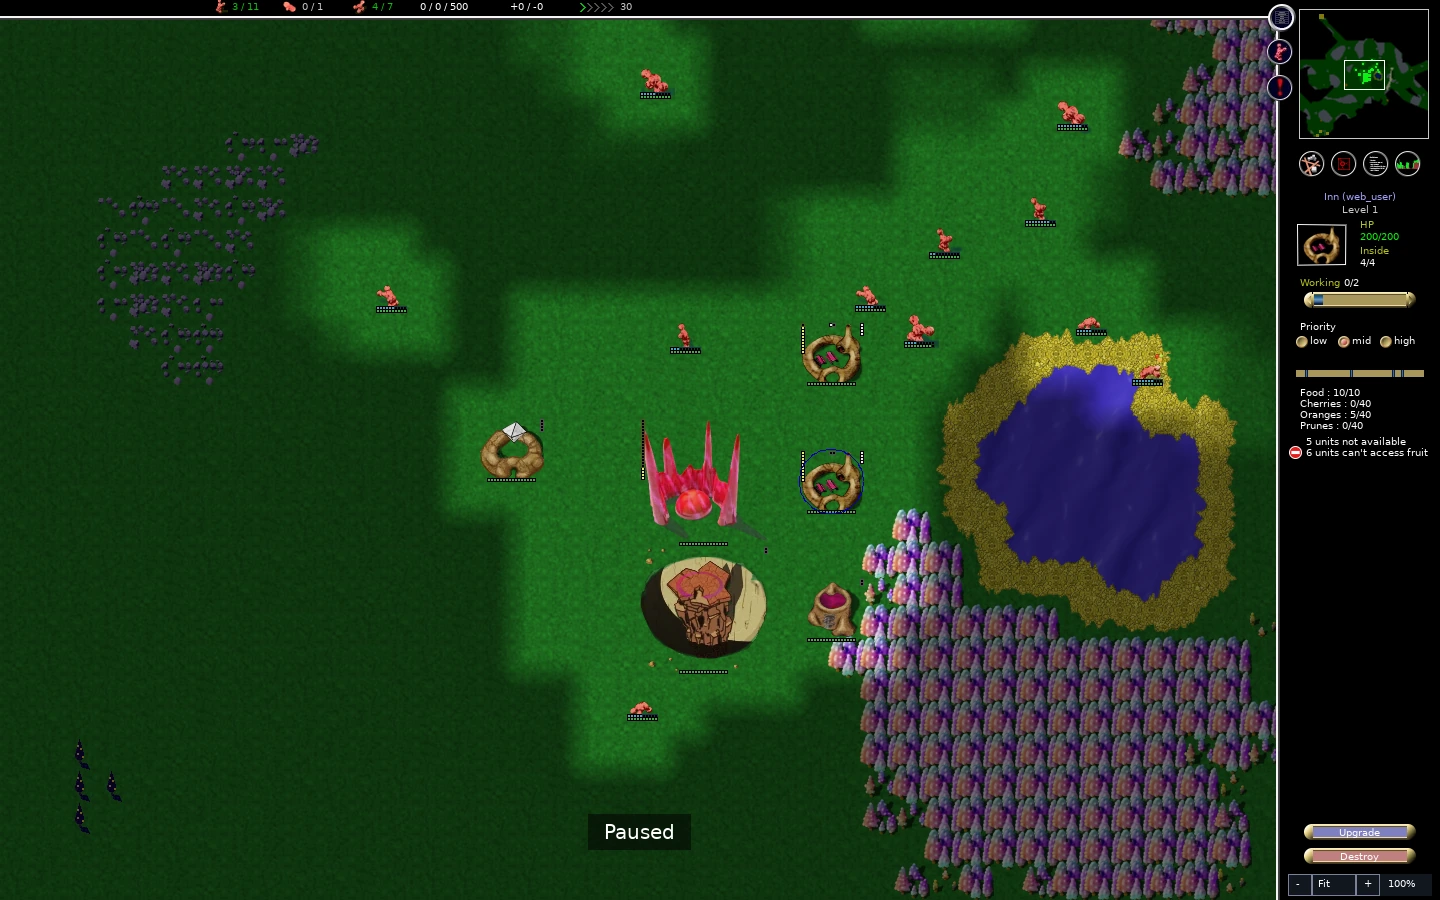
A withdrawal still works through autonomous jobs and needs. It does not promise that every unit escapes immediately from a dangerous fight.
Diagnose the attack before repeating it
Scroll to compare all columns ↔
| Symptom | Check first | Useful correction |
|---|---|---|
| Target flag stays understaffed | Old flag requests, minimum level, and unit needs | Release an obsolete assignment or relax an unnecessarily strict filter |
| Working fills but Here remains low | Travel distance, ground route, and service trips | Wait for arrival or move the destination onto a usable approach |
| Warriors repeatedly leave for food | Inn access, stock, and the length of the return trip | Shorten the operation or establish supplied forward service before committing |
| Units arrive separately and lose | Gathering point, opposing support, and readiness | Withdraw and regroup instead of continually adding replacements |
| The objective is gone but the force stays out | Remaining flag requests | Remove the obsolete order and allow meals, healing, and training |
A remote inn only helps after someone constructs it, supplies it, and can reach it safely. Before placing one, identify the builders, materials, wheat, and service route. Avoid expanding the attack’s labor demands faster than the home economy can support.
After a failed attack, use colony recovery to restore essential services. Read victory conditions before choosing a target intended to end the match.