
Castor develops an economy, training facilities and defenses before committing forces against valuable enemy buildings. Facing it is an exercise in keeping information current: the town you first reveal can gain schools, barracks and towers while you are improving your own colony.
This practice duel shows that change and a costly attack against the resulting defenses. Six trained warriors were requested for a probe near Castor’s barracks. Three remained afterward. A healthy home colony made it possible to stop that assignment and bring survivors back, but the probe did not remove the training buildings.
Set up a match you can repeat
Use Choosing an AI opponent to create a two-colony Standard duel. Select You for your colony, AI → Castor for the other, and keep separate teams. Save the opening before changing the production mix.

The illustrated match used generated Breachable highlands, 128 × 128, with red versus cyan. Find your own reachable wheat, wood and clear land before copying a placement. The landscape’s ponds and resource rings make route inspection useful, but your generated layout can differ.
Pause with P to inspect a panel, then resume to observe an actual delivery or service visit. A paused picture of an empty road does not establish that an economy has stopped.
Build supply and information together
Complete a supplied inn before adding several training projects. Watch its Food reserve through meals and deliveries, then produce a few explorers. Restore worker production when you have enough scouts for the question you are trying to answer.
In this duel, an inn came first, followed by three explorers. Worker production resumed while a school, barracks, second inn and hospital were completed. That sequence kept the colony supplied while opening the map.
Use the minimap to inspect revealed territory. Place an exploration flag where it can answer a question: where is Castor developing, what approach reaches its town, and which services stand near that approach? Check whether explorers are still present before treating the view as current.
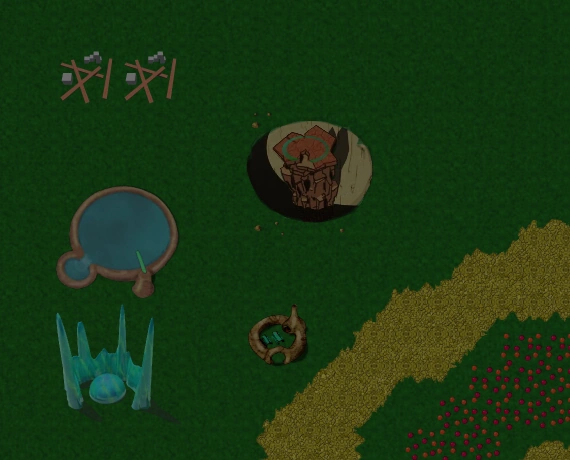
The first useful view showed Castor’s swarm, inn, swimming pool, barracks and two school foundations. Later, those schools were complete; another barracks and a defense tower had appeared.
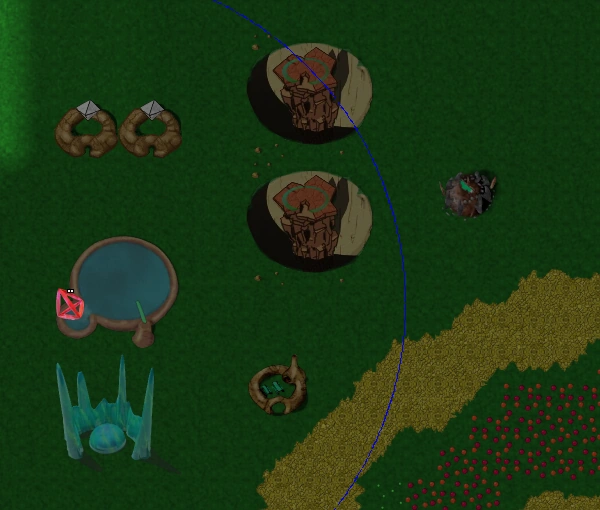
Remembered structures can remain after scouts leave. In this match the explorer total eventually fell to zero. The familiar layout then became a record of earlier sightings, rather than a reliable view of every current defender. Replace or redirect scouting deliberately before choosing a target.
Understand what its development means
Castor manages construction as projects and expands services and training in stages. Its placement considers usable workforce, food access, growth conditions, space and enemy reach. Expect development to depend on the map and available workers rather than following one visible building order every time.
Food pressure also changes its choices. Castor can slow unit production and adjust staffing at wheat consumers; under ordinary growth rules, its food care can allow a sparse catchment time to recover. That does not make every quiet interval a food pause. Observe changes in units, buildings and routes before explaining their cause.
A swimming pool is another reason to inspect routes and units. Training belongs to individual globs; the building does not grant swimming to the entire colony instantly. This duel shows the facility, rather than a demonstrated water crossing.
Its military demand grows with development and time. Attack readiness considers healthy warrior fighting power and a timeout; strikes favor seen, reachable buildings, including valuable training facilities. A lost assault can raise the force required for another. Keep watching the approaches to your school and barracks as well as your swarm.
Make your own readiness visible
Before committing an army, check the globs and services that must support it:
- Finish a reachable barracks and produce warriors while preserving food hauling.
- Let warriors train, then select an actual unit and inspect its abilities. A finished barracks is not a training record.
- Read both inns’ Food and Inside counts. Keep meals available while warriors gather or return.
- Finish any defensive construction before relying on it. Inspect a tower’s ammunition, rather than judging readiness from its sprite.
- Place a war flag for a useful approach and inspect the request, arrival and unit availability separately.
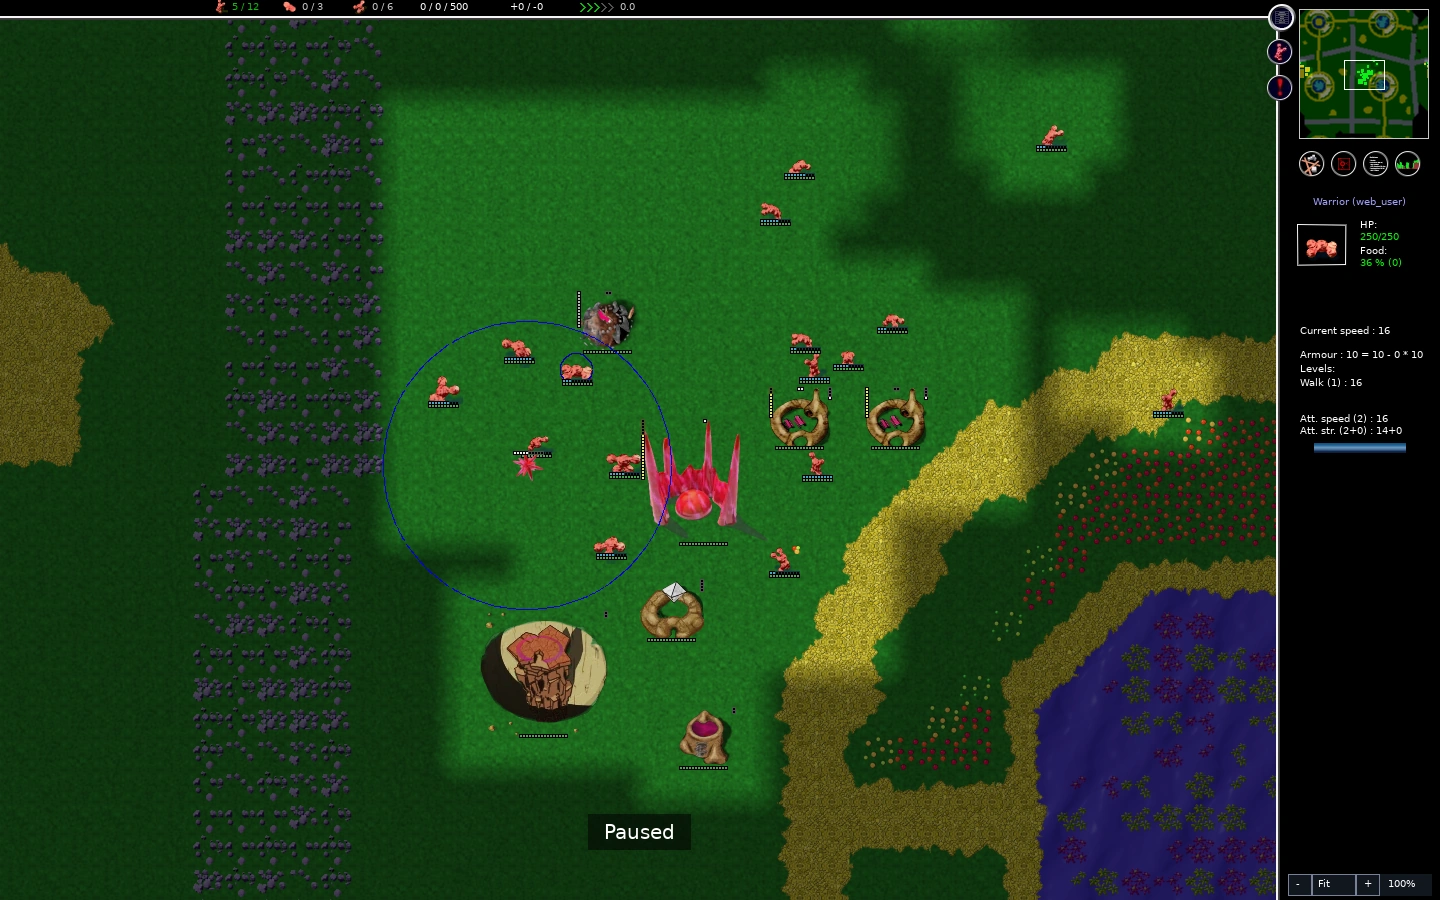
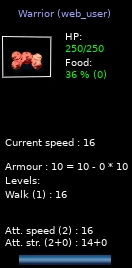
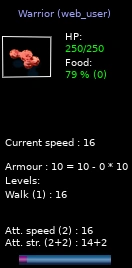
The selected defender in this match had HP 250/250 and completed attack training. The colony had six warriors, two inns, a school, barracks and hospital. Warrior births were stopped at that point so the existing force could be inspected without continually adding food demand.
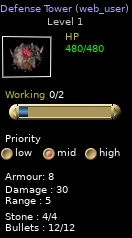
The completed tower had HP 480/480, Stone 4/4 and Bullets 12/12. These were preparations before contact. Castor did not attack our town during this interval, so the intact colony was not evidence that this defense had defeated an assault.
What the probe actually encountered
The probe replaced the home war assignment with a flag near Castor’s revealed barracks and schools, requesting six warriors. The force still had to travel and could leave its assignment for services; placing the flag did not deliver six fighters simultaneously.
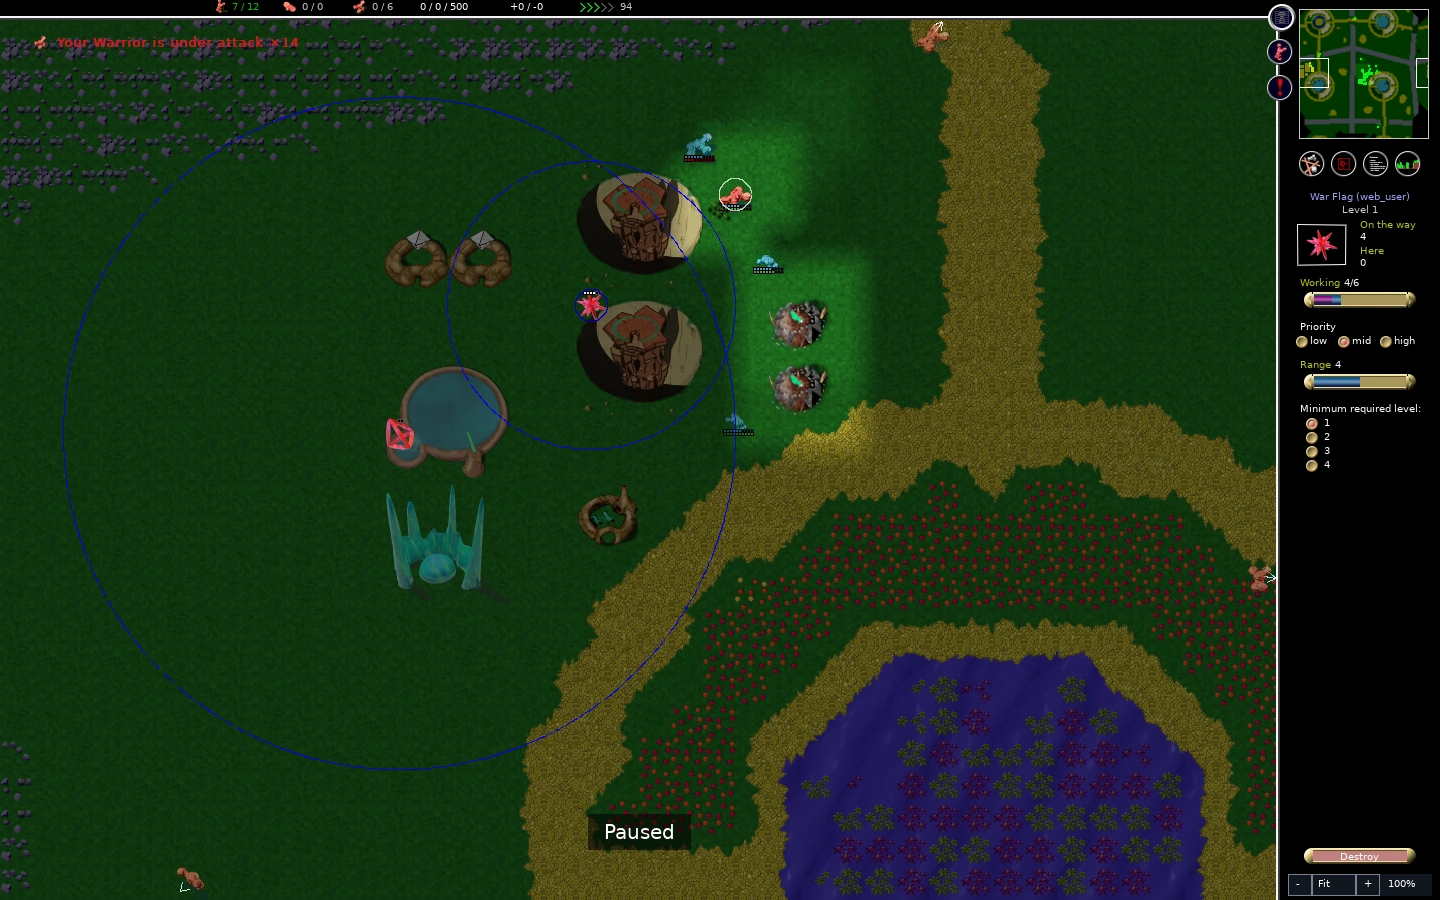
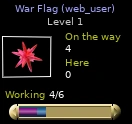
At contact, the flag showed Working 4/6, On the way 4 and Here 0. Cyan warriors and two towers were visible around the approach. One red warrior was already taking damage before the requested force had gathered.
Gameplay clip
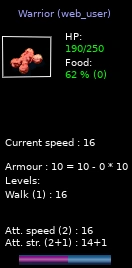
The selected warrior’s HP had fallen to 190/250. After further fighting, the red warrior total fell from six to three while Castor’s schools and barracks were still standing. The assignment was stopped and a home war flag was placed to draw survivors back.
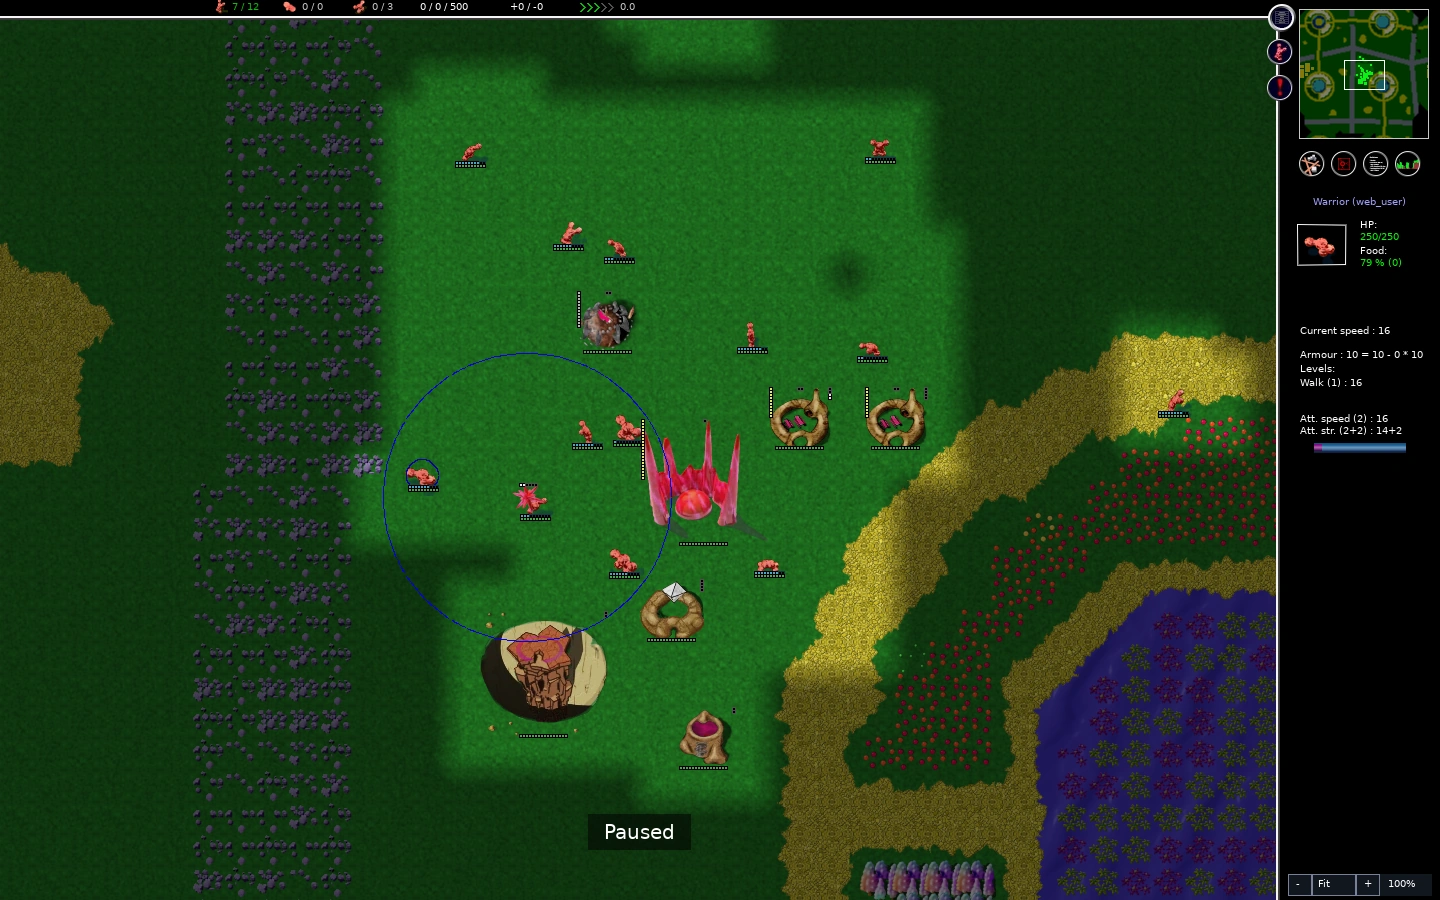
Before renewing the commitment, inspect the approach and current defenses again. A valuable target can remain a poor immediate attack when the force arrives piecemeal or passes through defended ground.
Recover before trying another commitment
After a failed probe, inspect the surviving army, food routes and services. Stop requesting units into the same exposed position, check where survivors are going, and keep meals and healing reachable. Preserve the workers and infrastructure that can replace losses.
Use the saved state to compare one decision at a time: fresher scouting, a different approach, a better gathered force, or a smaller commitment. Watch the outcome before calling any change an improvement. Training, defender position, ammunition and service access matter together; a larger warrior total alone does not explain an attack’s prospects.
Custom rules can change the exercise. No hunger changes feeding pressure, no resource growth makes waiting for regrowth ineffective, and peaceful play removes ordinary combat. Check the rules before applying observations from a Standard duel.
Your practice checkpoints are a supplied colony, an updated view of Castor, inspected training, and an assignment whose actual arrivals and outcome you can explain. Return to Resources and hauling when the force lacks supply, or Keep the colony fed before replacing losses that the economy cannot yet support.